This guide uses Windows Mail as an example. The setup process on other desktop email clients should be a similar process, however if your require assistance with specific applications then assistance can be provided by opening a support ticket.
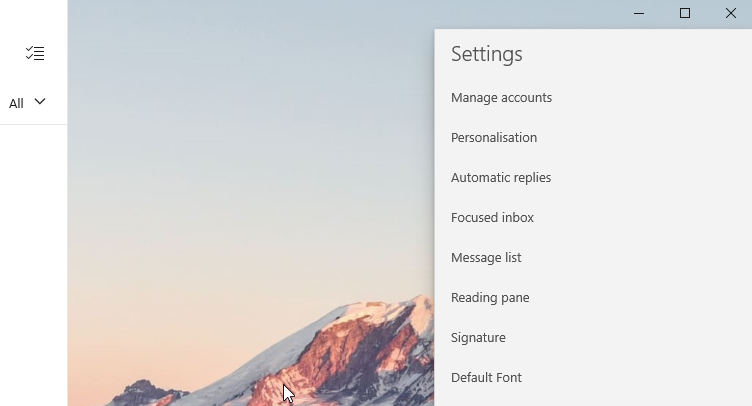
Step 1
Click the Settings cog and select Manage accounts
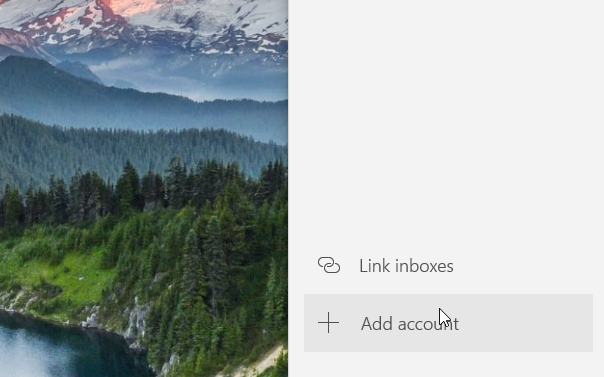
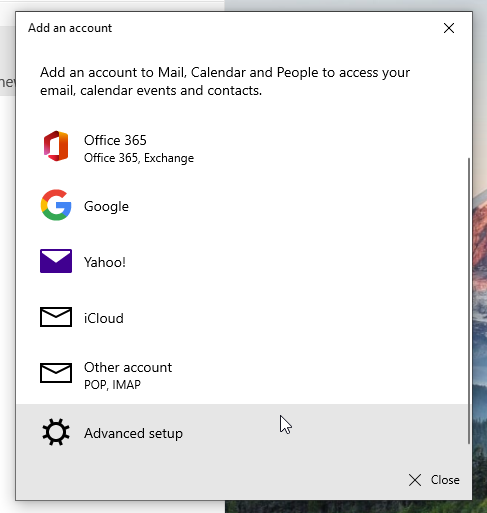
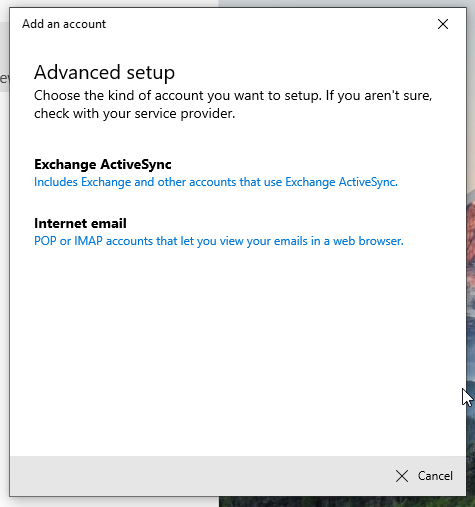
Step 2
Select Add account > Advanced setup & select Internet email
Step 3
Enter your email address, username (this is your email address) & password in the required fields. Any value can be set within the "Account name" & "Send your messages using this name" fields. For the purposes of this guide we're using the email address.
For the mail servers you will need to make sure that IMAP / IMAP4 is selected, along with all four checkboxes shown.
The mail server details, for the incoming and outgoing servers, are as follows:
Incoming email server: mail.yourdomain.com / port: 993 or 143 (the "www" section of your domain name should not be included here)
Outgoing email server: mail.yourdomain.com / port: 587
You may or may not be required to enter the port number at this stage, because Windows Mail will attempt to find this information out when connecting the the mail server.
Click Sign in once you have entered all of your details.

Additional notes:
The default ports for the incoming mail server & outgoing mail server are set to 993 and 587, respectively. If you experience an issue with incoming or outgoing mail not being received / sent correctly please visit both the outgoing mail server & advanced section within your email account settings and ensure that these ports are specified within the settings. Alternatively, if the incoming mail server port is already set to 993 and you're experiencing issues then port 143 can be attempted. If you experience any issues with the outgoing mail server, or require any additional help in setting up your email accounts, then please get in touch via the support section where further assistance can be provided.
You may be required to confirm the use of the SSL certificate being used on the mail server. Click accept / trust to allow your desktop client to send & receive emails.